How to Make Paneer at Home (Fresh Indian Cheese Recipe)
If you love Indian food, paneer is the ingredient you will use more than almost any other. This fresh, mild Indian cheese is the heart of dozens of beloved recipes from creamy restaurant curries to crispy grilled starters, and once you learn how to make paneer at home you will never go back to buying it from a store. Homemade paneer is softer, fresher, more flavorful, and significantly cheaper than store-bought, and the process takes just 30 minutes with two ingredients you almost certainly already have in your kitchen: whole milk and an acid like lemon juice or white vinegar.
For Indian diaspora home cooks in the USA, UK, Canada, and Australia, knowing how to make fresh paneer at home is a genuine game-changer. It means you can make Palak Paneer, Paneer Butter Masala, Paneer Tikka, and all your favorite paneer dishes whenever the craving strikes, without having to make a trip to the Indian grocery store. And if you are someone who has never cooked with paneer before and wants to understand what all the fuss is about, making it fresh at home is the very best introduction.
What is Paneer?
Paneer is a fresh, non-aged, non-melting Indian cheese made by curdling hot milk with an acid and then pressing the resulting curds into a firm block. It has a mild, slightly milky flavor and a firm, dense texture that holds its shape perfectly during cooking, whether you are frying it, grilling it, simmering it in a curry, or eating it raw. Unlike most Western cheeses, paneer does not melt when heated, which makes it uniquely useful in Indian cooking where cheese needs to stay in distinct pieces rather than dissolving into the sauce.
Paneer is the most important protein source in Indian vegetarian cooking. It is used across an enormous range of dishes from rich North Indian restaurant curries to street food snacks to breakfast dishes. Outside India, it is now widely available at Whole Foods, Trader Joe’s, some Walmart locations, and most Indian and Asian grocery stores across the USA, UK, and Canada. However, fresh homemade paneer has a texture and flavor that packaged paneer simply cannot match.
Why Make Paneer at Home?
- Dramatically softer texture: Freshly made paneer is noticeably softer and more delicate than store-bought which is often dense and rubbery
- Better flavor: Fresh paneer has a clean, milky sweetness that packaged versions lack
- Cheaper: A half-gallon of whole milk makes approximately 7 oz (200g) of paneer for a fraction of the cost of packaged paneer
- No preservatives: Homemade paneer contains only milk and a natural acid, nothing else
- You control the texture: Press it less for soft paneer perfect for crumbling in bhurji or saag. Press it more for firm paneer that holds together perfectly in tikka or kadai dishes.
- Available anytime: No need to plan a trip to the Indian grocery store when you can make it fresh in 30 minutes
Ingredients to Make Paneer at Home
All measurements are given in US cups with metric equivalents in brackets for international readers.
- ½ gallon (2 liters) whole milk: This is the most important factor in paneer quality. Use full-fat whole milk only. Low-fat or skim milk does not have enough fat to produce good paneer. The fresher the milk the better. One half-gallon of whole milk produces approximately 7 to 8 oz (200 to 225g) of paneer which is enough for most recipes serving 3 to 4 people.
- 3 to 4 tablespoons lemon juice: Freshly squeezed is best. The lemon juice is the curdling agent that separates the milk solids from the whey. Substitute with 3 tablespoons of white vinegar or 4 tablespoons of plain yogurt for slightly different results.
That is genuinely all you need. Two ingredients and 30 minutes.
Equipment You Need
- Large heavy-bottomed pot: At least 4-quart (3.8 liter) capacity to prevent the milk from boiling over
- Cheesecloth or a clean thin cotton cloth: For straining the curds. Cheesecloth is available at Walmart, Whole Foods, and on Amazon. A thin muslin cloth, a clean flour sack towel, or even a thin clean pillowcase works well.
- Fine mesh strainer or colander: For draining
- Something heavy for pressing: A heavy pan, a stack of books, or a cast iron skillet placed on top of the wrapped paneer block
How to Make Paneer at Home: Step by Step
Step 1: Heat the Milk (10 minutes)
Pour the whole milk into a large heavy-bottomed pot. Heat over medium heat, stirring occasionally to prevent the milk from scorching on the bottom. Bring to a full boil, watching carefully as milk can boil over quickly. As soon as the milk reaches a rolling boil and starts rising up the sides of the pot, reduce the heat to low.
Step 2: Add the Acid and Curdle the Milk (3 minutes)
With the heat on low, add the lemon juice one tablespoon at a time, stirring gently after each addition. You will see the milk begin to curdle immediately, with white curds separating from the greenish-yellow whey liquid. Add lemon juice gradually until the milk is fully curdled and the whey looks clear and greenish-yellow rather than milky white. If the whey still looks milky after 3 tablespoons of lemon juice, add a little more.
Once fully curdled, turn off the heat immediately. Do not continue cooking after the curds have formed as overcooking makes the paneer hard and grainy. Let the pot sit for 5 minutes undisturbed to allow the curds to firm up slightly.
Step 3: Drain the Curds (5 minutes)
Line a colander or strainer with a double layer of cheesecloth or a thin cotton cloth. Place it over the sink or a large bowl. Gently pour the curdled milk through the cheesecloth. The white curds will collect in the cloth while the yellowish-green whey drains through. Do not discard the whey as it is rich in protein and can be used as a nutritious substitute for water when making bread dough, soups, or smoothies.
Once most of the whey has drained through, rinse the collected curds gently under cold running water for 30 seconds. This stops the cooking process, removes the lemon taste from the finished paneer, and freshens the flavor.
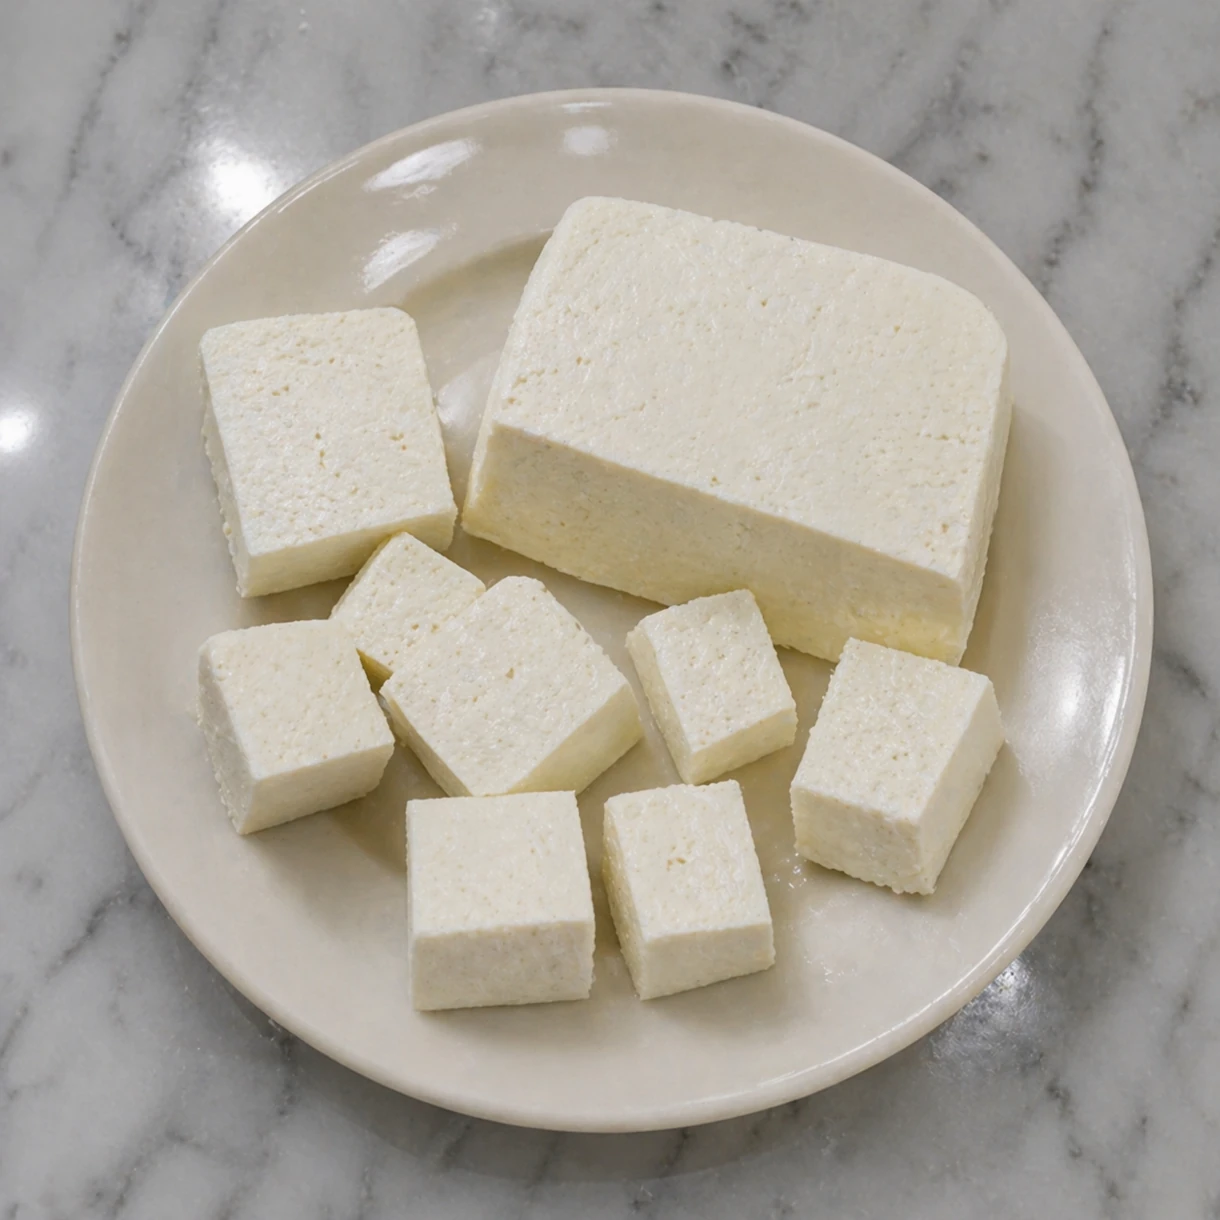
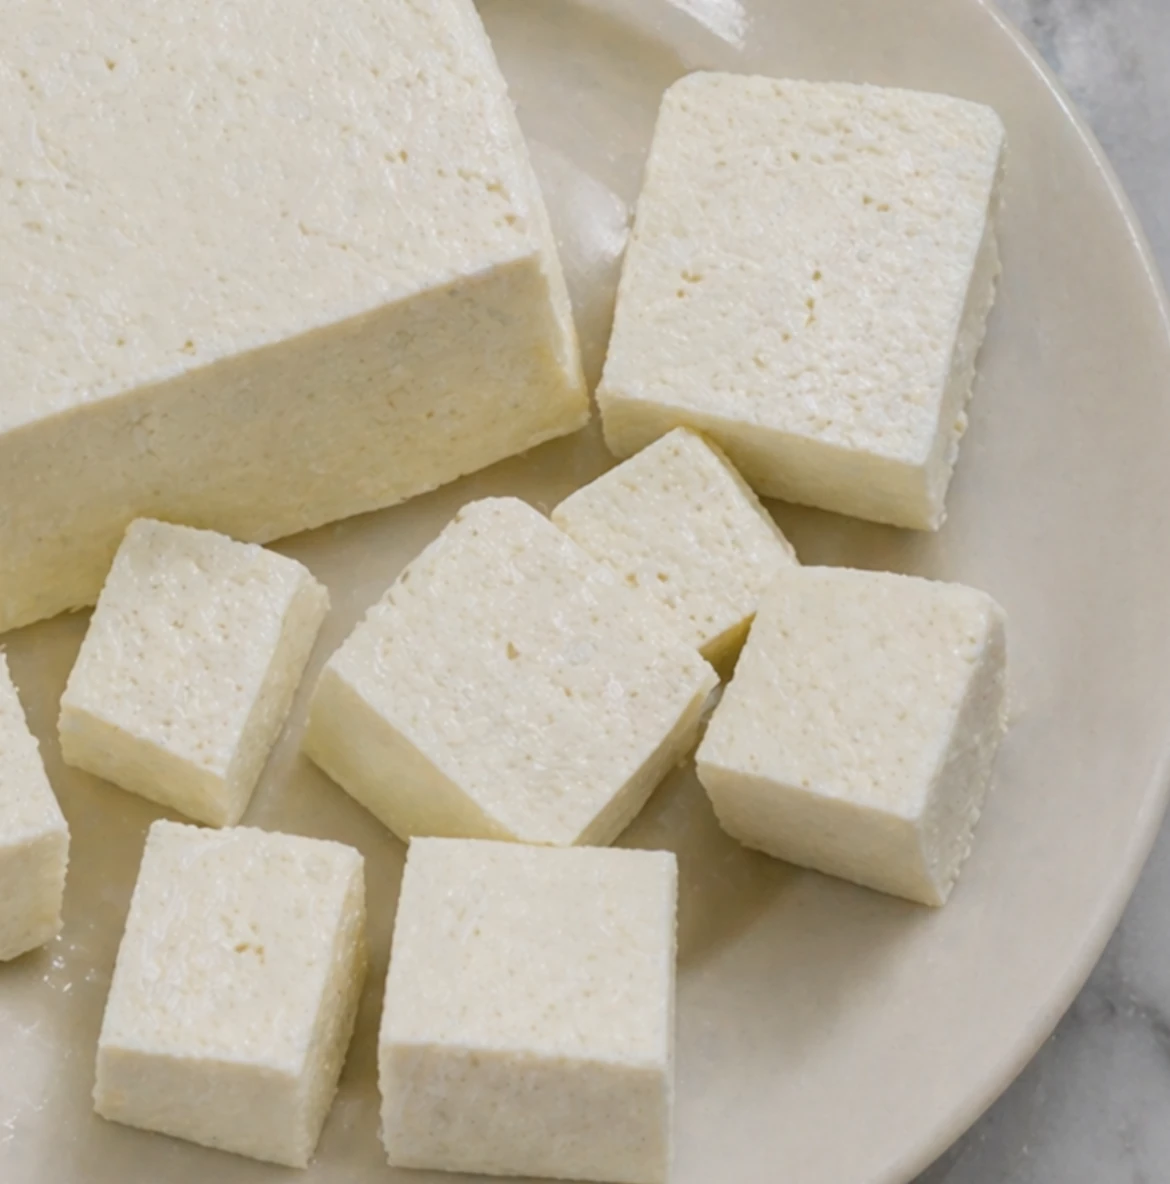
Step 4: Shape and Press the Paneer (20 to 30 minutes)
Gather the edges of the cheesecloth together and twist to squeeze out as much remaining whey as possible. Shape the bundle into a flat disc or square block while still in the cloth. Place the wrapped paneer on a flat plate or cutting board. Place another flat plate or cutting board on top, then weigh it down with something heavy like a cast iron pan, a heavy pot, or a stack of books.
Press for 20 to 30 minutes for soft paneer that is ideal for crumbling or using in dishes like Palak Paneer or Saag Paneer. Press for 45 minutes to 1 hour for firmer paneer that is better for frying, grilling, or using in dishes like Paneer Tikka or Kadai Paneer where the cheese needs to hold its shape completely.
Step 5: Unwrap and Use
Unwrap the pressed paneer block. It should be firm enough to slice cleanly with a knife. Cut into cubes, slices, or whatever shape your recipe requires. Your fresh homemade paneer is ready to use immediately.
Tips for Perfect Paneer Every Time
- Always use whole milk: This is the single most important tip. Low-fat milk does not contain enough fat to form proper curds and the resulting paneer will be crumbly, dry, and unpleasant.
- Do not over-acidify: Add lemon juice gradually and stop as soon as the whey turns clear and greenish-yellow. Adding too much acid makes the paneer rubbery and gives it a sour taste.
- Do not overcook after curdling: The moment the milk is fully curdled, turn off the heat. Continued cooking toughens the protein structure and makes hard, grainy paneer.
- Rinse with cold water: Always rinse the drained curds under cold water. This stops residual cooking, removes the acidic taste, and gives you cleaner flavored paneer.
- Press time controls texture: Short press time (20 minutes) gives soft, crumbly paneer. Long press time (1 hour or more) gives dense, firm paneer. Match the press time to your intended recipe.
- Soak in warm water before cooking: If using store-bought paneer or paneer that has been refrigerated, soak the cubes in warm water for 10 to 15 minutes before adding to your recipe. This rehydrates the paneer and makes it soft and spongy rather than dense and chewy.
How to Store Homemade Paneer
Immediate use: Freshly made paneer can be used right away and is at its absolute best when fresh.
Refrigerator: Submerge the paneer block in cold water in an airtight container. Store in the refrigerator for up to 4 to 5 days. Change the water daily to keep the paneer fresh and prevent it from absorbing refrigerator odors.
Freezer: Cut paneer into cubes, place in a single layer on a baking sheet lined with parchment paper, and freeze for 2 hours. Transfer the frozen cubes to a freezer bag and store for up to 3 months. Thaw overnight in the refrigerator before using. Frozen paneer becomes slightly more crumbly in texture but works perfectly in cooked dishes.
Lemon Juice vs Vinegar vs Yogurt: Which Curdling Agent is Best?
- Lemon juice: The most commonly used and recommended option. Gives clean flavored paneer with a very slight brightness. The lemon taste disappears completely when rinsed under cold water.
- White vinegar: Works slightly more efficiently than lemon juice and gives a very clean, neutral flavor. Use 3 tablespoons per half-gallon of milk.
- Plain yogurt: Takes longer to curdle the milk but gives the softest, most delicate paneer with a subtly tangy flavor. Use 4 to 5 tablespoons per half-gallon of milk and stir gently for longer.
- Citric acid: Available on Amazon and at Indian grocery stores. Very efficient and gives firm, consistent results. Use ½ teaspoon dissolved in 2 tablespoons of water per half-gallon of milk.
All the Paneer Recipes You Can Make With Your Homemade Paneer
Now that you have beautiful fresh homemade paneer, here is every paneer recipe on our site to inspire your next meal:
Rich Paneer Curries
- Palak Paneer Recipe: Classic spinach and paneer curry, one of the most beloved Indian dishes worldwide
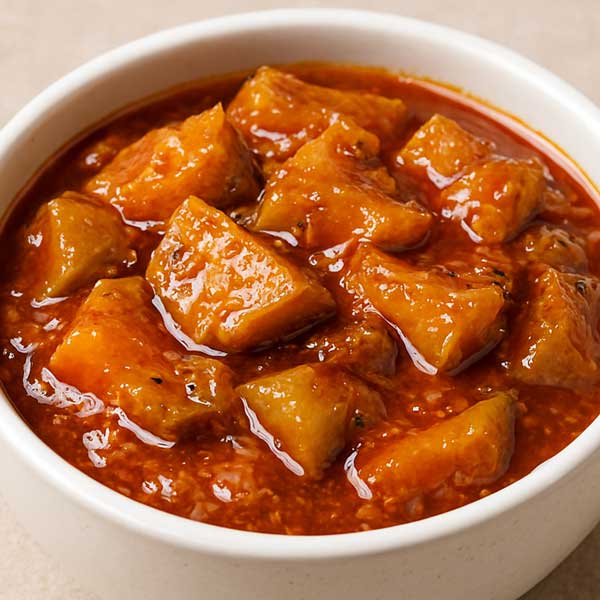
- Paneer Butter Masala Recipe: Rich, creamy tomato-based curry that is the vegetarian equivalent of Butter Chicken
- Saag Paneer Recipe: Paneer in a bold, earthy leafy green gravy with deep Punjabi flavors
- Shahi Paneer Recipe: Royal paneer curry with cashews, cream, and aromatic whole spices
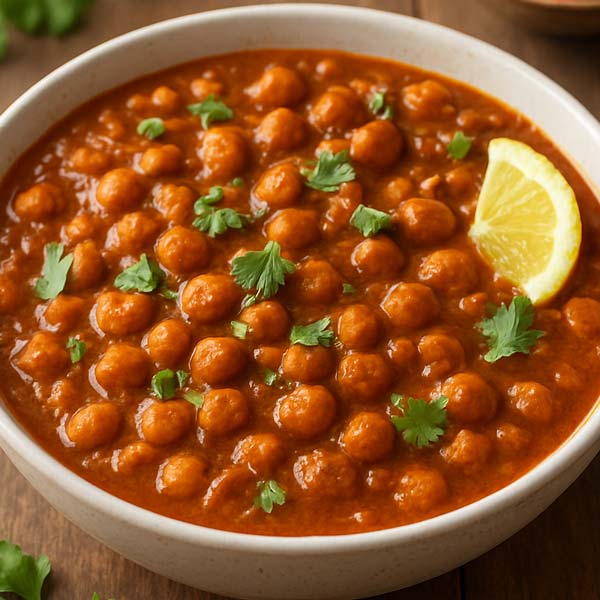
- Matar Paneer Recipe: Paneer and green peas in a spiced tomato gravy, a simple everyday classic
- Paneer Lababdar Recipe: Restaurant-style creamy paneer curry with kasuri methi and butter
Grilled and Starter Paneer Dishes
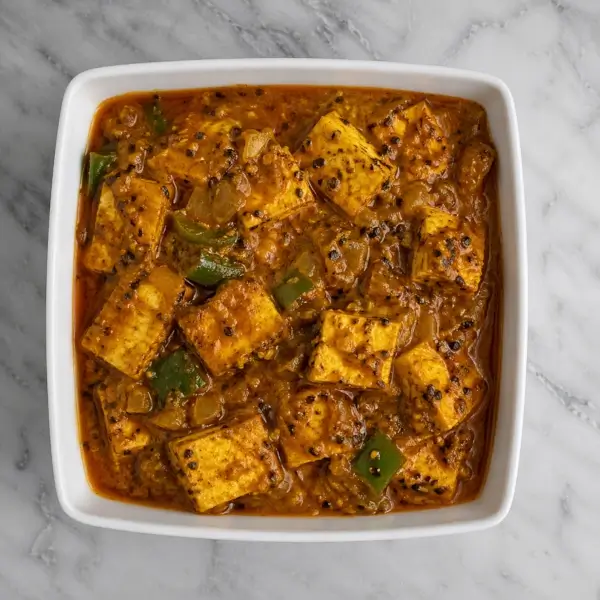
- Paneer Tikka Recipe: Marinated and grilled paneer cubes with bell peppers and onions, perfect as a starter
Paneer Kofta and Specialty Dishes
- Malai Kofta Recipe: Soft paneer and potato dumplings in a luxurious cream sauce
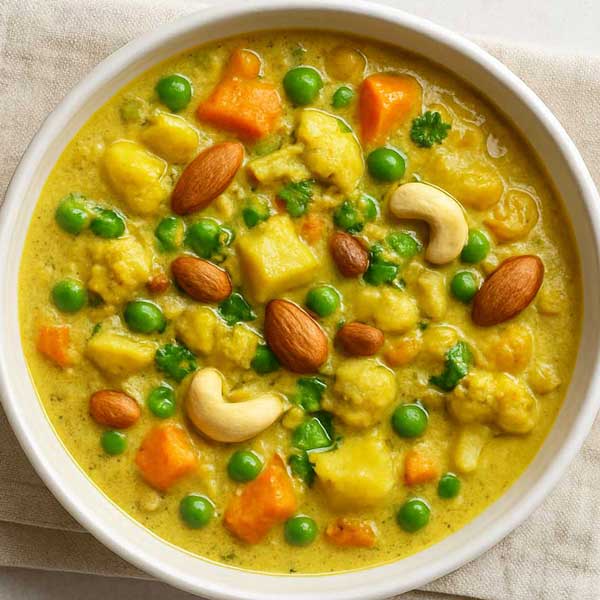
- Navratan Korma Recipe: Rich, mild nine-jewel curry that includes paneer alongside vegetables and nuts
Complete Paneer Recipe Guide
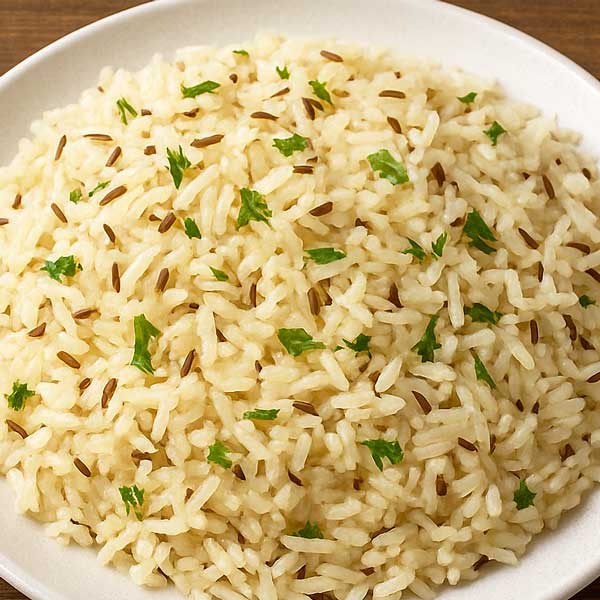
- Top Paneer Recipes Indian (Easy, Delicious and Popular Dishes): Our complete guide to the best paneer recipes on the site
Nutrition of Homemade Paneer
Per 3.5 oz (100g) of homemade paneer made from whole milk:
- Calories: 265 kcal
- Protein: 18g
- Fat: 20g
- Carbohydrates: 3g
- Calcium: 480mg (48% of daily value)
- Phosphorus: 280mg (28% of daily value)
Paneer is one of the most protein-dense plant-based foods available, making it a cornerstone of vegetarian Indian cooking. It provides all the essential amino acids found in complete proteins, making it a high-quality protein source comparable to meat and eggs. The high calcium content supports bone health, and for vegetarians who do not eat meat, paneer is one of the best dietary sources of both protein and calcium combined. Unlike processed cheese, fresh paneer contains no artificial additives, preservatives, or excess sodium.
Frequently Asked Questions
This is usually caused by one of three reasons: the milk was not hot enough when the acid was added (it should be at a full boil), not enough acid was used, or the milk was ultra-pasteurized (UHT milk). Ultra-pasteurized milk, which is processed at higher temperatures, sometimes does not curdle well for paneer. Look for regular pasteurized whole milk rather than ultra-pasteurized or shelf-stable varieties. If your milk is slow to curdle, return it briefly to heat and add a little more lemon juice.
Technically yes, but the results will be noticeably inferior. Lower-fat milk produces a smaller yield of drier, crumblier paneer that lacks the rich, creamy texture of whole milk paneer. If whole milk is not available, use the highest fat percentage milk you can find. Half-and-half blended with whole milk also works well for extra-rich paneer.
One half-gallon (2 liters) of whole milk produces approximately 7 to 8 oz (200 to 225g) of paneer. Most Indian recipes call for 7 oz (200g) of paneer for 3 to 4 servings, so one batch is usually enough for one recipe.
Unfortunately no. Plant-based milks like almond, oat, or soy milk do not curdle in the same way as dairy milk because they lack the casein proteins that form the curds. Firm tofu is the closest vegan substitute for paneer in cooking and can be used as a direct replacement in most paneer recipes.
Absolutely. The whey left over from making paneer is rich in whey protein, B vitamins, and minerals. It has a mild, slightly sour flavor and can be used as a substitute for water or milk in bread dough, pancake batter, smoothies, soups, and dal. It can also be used to water plants as it provides nutrients that help them grow. Never discard it.
Paneer is now widely available in most countries. You can find it at Whole Foods Market (usually in the specialty cheese section), Trader Joe’s, some Walmart locations, most Asian grocery stores, and all Indian grocery stores. Online retailers and Amazon Fresh also carry it. Popular brands include Nanak, Verka, and Gopi. However, fresh homemade paneer is always softer, fresher, and better than any packaged versio